Creator guide
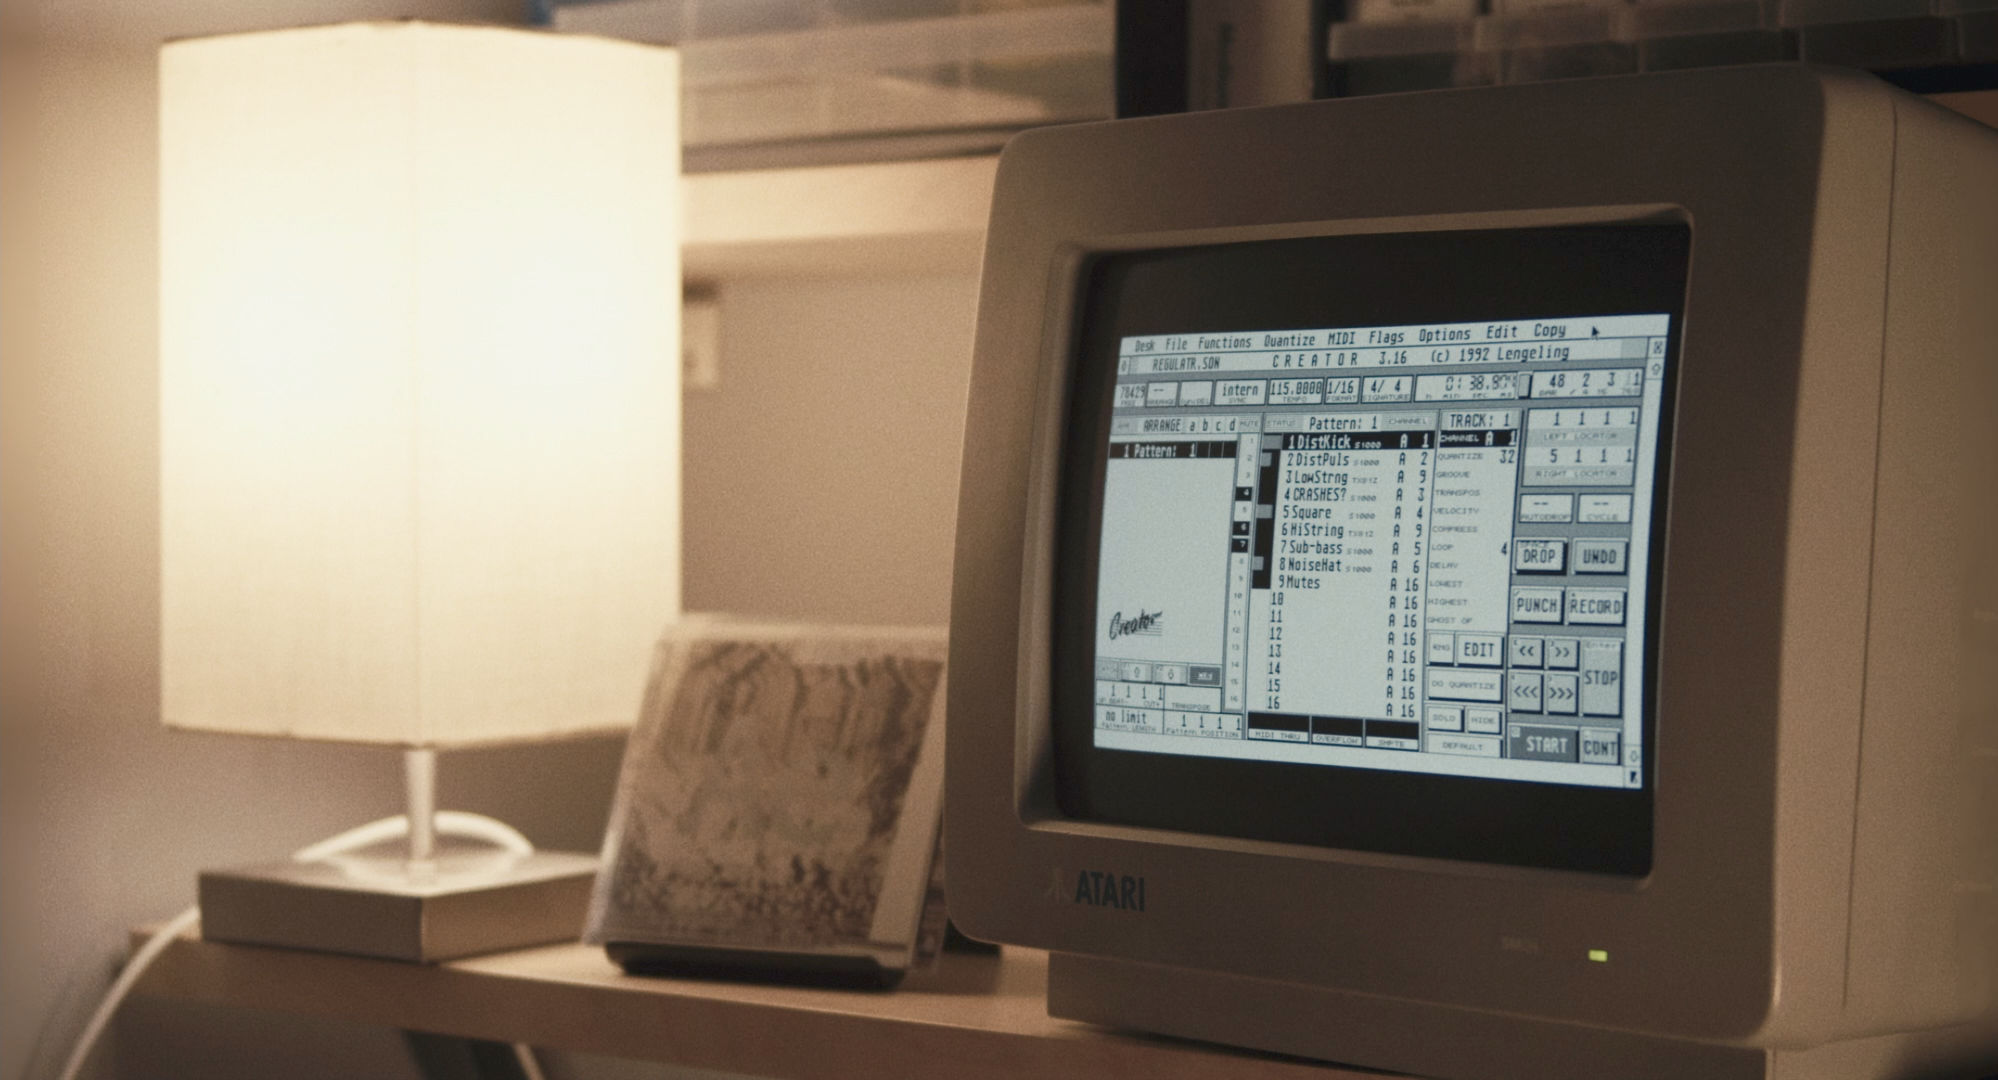
Atari ST running C-LAB Creator
Although it's a fully fledged MIDI sequencer, in an important way, Creator works a lot like an earlier digital step sequencer, like you might find on a drum machine: it splits the song up into easily manageable (and loopable) patterns. This simplicity can be refreshing compared to modern DAWs, although it can still get quite complex if you want it to.
With its looping and muting encouraging the creation of music that slowly builds up layers, I suspect it contributed more than people realise to '90s electronic dance music.
The main page
Changing values
First off, try changing the tempo near the top of the screen, above the pattern. When hovering over it, the left mouse button increments it, and the right mouse button decrements it. If you're hovering over the whole numbers to the left of the decimal point, that's what you'll affect; if you're hovering over the decimal places, you'll affect the specific digit you're over.
Over on the right, you can move the playback/record heads in the same way, by hovering over the bar number and clicking on it with the left and right buttons... or, if you'd prefer, clicking on the clock. As a general rule, this is how you change values in Creator.
The transport
The right side of the main page in general houses a regular tape-style transport, which also works from the Atari ST's calculator-style number pad.
In addition to incrementing and decrementing the bar with the mouse, you can also use the [ and ] keys.
0 plays the song from the beginning. Enter stops it. Pressing Enter again skips back to the beginning of the song. * deletes anything that was already recorded on the currently selected track, replacing it with whatever you play. Like playing, it also starts from the beginning, but with a count-in timer. (You can control the metronome's volume with your monitor's on/off/volume dial.) . is pause/continue. It will pause or resume playback or recording. The space bar drops in and out, toggling between playing and recording without starting or stopping.
So you can play some of the song from the beginning with 0 then Enter; erase and record to the selected track from the beginning with * and Enter; play a particular section by incrementing the bar number with the mouse, then pressing . to start playback and pressing . again to stop playback; and add extra flourishes by pressing space while playing back to record some extra notes, then pressing space again to revert to playback mode.
There's much more you can do (such as control the transport from your MIDI keyboard, or set automatic points to drop in and out or cycle between), but for most purposes, that should be sufficient.
Patterns
First, try building up a pattern out of multiple tracks. You have up to sixteen to work with. You can move between tracks by clicking on them, or using ↑ and ↓. You can give each track a name, and a MIDI channel to output to. Assuming you don't have any accessories fancier than the regular dongle, you'll want channels A 1 through to A 16, which use the Atari ST's built-in MIDI out port.
When recording, you can play notes on your controller keyboard, and they'll be recorded to the currently selected track. Whenever you record to a nameless track, it's automatically given a name of ** OK **. You can rename it to anything else, up to eight characters, by double-clicking on the name, or holding Shift and tapping Backspace. As well as each track having its own name, each MIDI channel can also have its own name (to say which equipment's receiving the events). So Creator keeps track on your behalf of which equipment's on which channels. You can enter a MIDI channel name by double-clicking just to the right of the track's name.
Note that tracks and MIDI channels are different things. If you use two tracks to send events to the same MIDI channel, then you're using them like note lanes in a modern DAW; conversely, you can record a whole song in a single track, should you want to, with Creator faithfully relaying all the events' original channels if you set the track's channel to A, automatically named the original channel.
You can copy a named track to an empty one, overwriting it, by clicking on the named track, holding down the mouse button until the pointer turns into a hand, and dragging the track where you want to copy it to, before letting go. Similarly, you can merge two named tracks together by dragging one onto the other. I'd recommend saving the song before doing this, as it's a bit fiddly.
Track parameters
To the right of the pattern is more information about the selected track. You can, amongst other things: change the channel; quantise imperfect playing; add swing, also known as shuffle, here called a groove; loop a shorter track; and delay the whole track (including a negative delay, to compensate for sounds with a long, slow attack stage). When you click on a parameter to select or change it, you'll see that same parameter listed for all the other tracks in the pattern. By holding down Shift while changing the value, you change it for all the other tracks in the pattern as well, a real timesaver.
As with the tempo, when hovering over any of these values, the left mouse button increments it, while the right mouse button decrements it. Sometimes the exact position counts: you can transpose a track, incrementing and decrementing it by a semitone at a time... or, by hovering a little to the left, by an octave (12 semitones) at a time.
All of the track's parameters are nondestructive. Creator still remembers the original channel of your controller keyboard's notes, and the slightly imperfect playing. You can freely change your mind back and forth regarding quantisation and swing.
If you change an unnamed track's parameters, those changes will automatically apply to all the other unnamed tracks, and your live keyboard playing. This is usually another timesaver, but can sometimes trip you up if you set parameters before recording. For example, if you loop an unnamed track before recording (and thus naming) it, the next one you record will have the same loop time by default.
Personally, I think swing's pretty important, so here's the grooves you'll likely find most useful:
| Swing % | Terminology | Creator groove |
|---|---|---|
| 50% | Straight | 16 A |
| 54% | Soft swing | 16 B |
| 58% | Soft swing | 16 C |
| 62% | Soft swing | 16 D |
| 66% | Triplet swing | 16 E |
If you go too far and the notes start to bunch up, you might need to go all the way back to turning the groove off completely, before going back again to select the right one.
Automation
Just to the left of the pattern is a column for muting individual tracks. If you mute and unmute tracks while recording, the mutes themselves will be automated. Note that the mutes are saved in whichever track you're recording to, so you'll probably want to have a track set up just for muting. The manual's quick to stress that a track shouldn't mute itself, as it will then be unable to unmute itself.
You can also automate tempo changes, again to a specific track.
Multitrack recording
If your workflow involves recording one or two tracks at a time, rather than everything at once, Creator still has you covered.
You can sync Creator to an external MIDI clock, such as one recorded onto a multitrack recorder, by clicking on the sync box (so to speak) just to the left of the tempo box. intern uses Creator's own clock, as you'd expect. MIDI uses an external MIDI clock signal, and even recognises Song Position Pointer messages, to jump to the right spot, so you don't have to play the whole song from the beginning each time.
Clicking on the status column, just to the right of the mute column, lets you temporarily hide tracks. Doing so displays a * symbol to let you know they're hidden. Alternatively, you can press H to hide the currently seleected track. Hiding's just like muting, except it can't be automated. This prevents the other tracks from clogging up the MIDI bus.
The notepad
Lastly, there's a handy notepad you can bring up by either clicking on Options then Notepad at the top of the screen, or holding down Alternate and tapping N. This can be useful for jotting down things like which keys and chords your song uses. You can close it again by clicking on EXIT or pressing Return.
The event editor pages
Clicking on EDIT or pressing E goes to the event editor, showing the selected track's events; clicking on OK (if you can see it, on the right) or pressing Return or E again takes you back to the main page.
There are several ways of viewing the MIDI events. The bare-bones list is always shown in the top half of the screen. You can toggle the rest on and off by either clicking on Edit at the top of the screen or selecting the appropriate letter:
Jtoggles the hyper display (a grid, for drawing on drums and control changes with the mouse)Ktoggles the matrix display (a piano roll, for pitched notes; presumably K stands for keyboard)Gtoggles the graphic display (a sort of bar graph)
The graphic display in the top-left corner isn't terribly useful, but nothing else occupies that particular screen real estate, so you might as well leave it on. The main thing you'll likely want to do is use J and K to toggle between the hyper display (not covered in this guide) and matrix display, which are mutually exclusive. You can also drag the line separating the event list at the top of the screen from the hyper or matrix display at the bottom of the screen.
As its name implies, the event editor is good for editing a few notes here and there, but it isn't designed to enter whole patterns from scratch. For that, you should really play your MIDI keyboard, recording it from the main page.
The event list quarter-page
The event list is a simple table showing the timing and contents of every MIDI event. To edit notes, the the matrix editor is more intuitive, but learning to use the raw list will help you understand what the fancier interfaces are actually doing. It's also useful for entering other kinds of events, such as program changes.
Remember, all your studio's communication occurs as a series of MIDI events that happen at specific times, and the sequencer's job is to listen to, store, and play back these events. Each track's list is simply all the MIDI events it recorded, in order. At a fundamental level, this is all any MIDI sequencer does. The rest is an improvement in the list's presentation.
You can move around the event list using all four arrow keys. As you do, if the currently selected event is a note, you'll hear it play for about half a second. Clr Home jumps to the first event; Shift-Clr Home jumps to the last.
A good MIDI sequencer such as Creator can record all kinds of MIDI events, not just notes. For example, if you transmit a SysEx message while recording, that message will be stored along with the other events. The filter in the top-left corner of the screen lets you select which types of event to show or hide. You can click on SysEx to show and hide SysEx messages, and click on the # next to it to show or hide the full details of those messages.
While SysEx messages tend to clutter up the list with one long event, control changes (such as the mod wheel) and pitch bend (the pitch wheel) tend to clutter it up with lots of short events. You can show and hide these with CONTROL and PITCH W respectively.
The same is also true of channel pressure (monophonic aftertouch) and polyphonic pressure (polyphonic aftertouch), which you can show and hide with cPRES and p.
Control changes, pitch bend, and aftertouch can all eat up a lot of memory. If you don't want to play so expressively, but your keyboard still transmits all those events, you can filter them out so they're not even recorded, let alone listed. You can do this by clicking on MIDI at the top of the screen, then selecting Input Handling, and disabling whatever you don't want to record.
PROGRAM shows and hides program changes, which should be short and infrequent enough not to clutter the list.
Notes themselves consist of two events: one to turn on the note, and another to turn it off. You can show and hide these independently. Generally, you'll want to see the Note On events and hide the Note Off events, because Creator takes care of the latter for you, simplifying it in the list as a more intuitive length for the Note On event. This is about the extent of the list simplifying what it shows you. Generally, it's the raw data.
In addition to MIDI events, you can also add pseudo events used internally by Creator, chiefly to change the tempo on the fly, and mute and unmute tracks. Note that you should mute and unmute a track from a different track. If it mutes itself, then being muted, it can't play any more events, including the event to unmute itself. It might be an idea to set aside the first or last track for just these pseudo events.
The columns represent the following values, depending on the event type (status):
| Bar | 4 | 16 | 768 | Status | Channel | -1- | -2- | Length/Info |
|---|---|---|---|---|---|---|---|---|
| Bar | Beat | Denominator | Pulses | NOTE |
Channel | Pitch | Velocity | Length |
| Bar | Beat | Denominator | Pulses | SysExcl |
Manufacturer number | Device number | Manufacturer name | |
| Bar | Beat | Denominator | Pulses | Control |
Channel | Controller number | Value | Controller name |
| Bar | Beat | Denominator | Pulses | PitchWh |
Channel | Fine | Coarse | |
| Bar | Beat | Denominator | Pulses | Program |
Channel | Value | ||
| Bar | Beat | Denominator | Pulses | P_USER |
Pseudo-event number | Value | Pseudo-event name |
You can increment and decrement any value in the event list using + and - on the number pad, or the left and right mouse buttons as usual. In terms of the event's timing, because the whole group of numbers is selected (bar, beat, denominator, and pulses), the number pad edits the last changed value out of the four, so using the mouse is probably preferable.
You can also directly enter a number on the number pad. There's no need for a leading zero, which would start playback. Entering a zero after any other digit is fine. You can even enter notes this way (remember, Cs are multiples of 12). You can enter the value zero (or a rest) by holding down the left Shift button while pressing 0.
As with Roland's MC-4 and Akai's S1000, while you can enter numbers with the number pad, it's much easier to use your MIDI keyboard. Make sure MIDI IN is enabled on the right, select a NOTE event, then play a note. If the pitch or velocity is selected, it will update to match the note you just played. If anything else is selected, both will update.
This will also work with Control and PitchWh events, by moving the appropriate wheel on your MIDI keyboard.
Changing the event type (status) is a little trickier: you have to double click on it. This can be a bit tedious when cycling through the five available options: Control, Program, C-Press, PitchWh, and P-Press. You can't change any other event type.
The Delete key flags an event for deletion. When you leave the editor, the event will disappear from the list.
You can drag a status up and down to copy that event.
You can create a new Control event by pressing Insert, and as above, you can double-click it into being one of the four other types. You can create a new NOTE with Shift-Insert. For any other event type, you have to drag the appropriate event type name from the filter list on the left onto the main event list. This is especially useful for pseudo events, which can't be sent over MIDI.
The matrix display half-page
The matrix editor is a familiar piano roll, albeit vertical like a player piano or tracker rather than horizontal like Cubase or a modern DAW.
The event list at the top of the screen and the matrix editor at the bottom of the screen show the exact same information. Selecting a note in the matrix editor selects it in the list too. You can only select one note at a time.
You can scroll up and down the piano roll using ( and ) on the number pad, either a bar at a time, or less by holding down Shift. You can zoom in and out by left- and right-clicking on the zoom fraction in the bottom-left corner, or by pressing \ and Shift-\.
You can drag a note to change its pitch or timing, but not both at once. Seeing as you likely only want to change one or the other, certainly at a time, this is a pretty handy feature that prevents you making unwanted changes. You can safely get quite slapdash with the mouse, which is especially useful given the Atari ST's ageing hardware. Holding down the right mouse button as well lets you override this, but I don't recommend it.
You can change a note's length by dragging its tail. If it's too short to click on its tail, you can click just below its tail instead, then drag up to the note.
Once you've clicked on a note to select it, you can then right-click on the grid to copy it to that location. Alternatively, you can right-click on a note to delete it, then right-click on the grid to effectively move it to that location instead.
To make sure you're copying or moving a note to the right pitch, you can left-click anywhere on the grid to preview that pitch. The preview note will always be about half a second long. Be careful to just tap the mouse button rather than hold it down, so you don't trigger multiple notes.
The screen can show five octaves of the piano roll at a time. To change which octaves it's showing, click on C1, just above LOWEST, in the bottom-left corner of the screen. You can increment and decrement the lowest octave shown with the left and right mouse button, effectively scrolling horizontally.
With SNAP enabled on the left, moving notes up and down on the grid is quantised. They'll automatically snap to the nearest row, representing the nearest 16th of a bar. With SNAP off, moving the notes is freehand. Either way, adjusting the note lengths is freehand.
If velocity (VELOC) in the bottom-left corner is enabled rather than greyed out, then clicking on a note won't copy, delete, move, lengthen, or shorten it. Instead, left- and right-clicking on it will increase and decrease its velocity respectively.
Back to the main page
Let's press Enter to go back to the main page. You already know enough to make simple house and techno music, but let's get a little more adventurous and make music with multiple sections, perhaps in different keys.
Copying
First, let's make a B section to complement our existing A section, so the overall song doesn't get too repetitive.
By left- and right-clicking on the 1 next to the Pattern:, you can increment and decrement the patter number. There are 99 patterns to play with, along with a secret pattern 0 that's best left alone.
Double-clicking on the word Pattern: itself, or pressing Shift-N, lets you rename the pattern. So you can name, for instance, the Verse, Chorus, Bridge, Intro, and Outro.
You can copy one pattern onto another by clicking on Copy then Pattern, at the top-right corner of the screen, and selecting the source and destination pattern numbers. You can only copy to an empty pattern, and it will take a few seconds.
Arranging
You can toggle arrange mode on and off by clicking on the ARRANGE box near the top-left corner of the screen, toggling between ON and —.
Arrange mode works less like most MIDI sequencers, and more like a digital step sequencer on a drum machine: you can chain together multiple patterns into a single whole song.
By default, the arrange list only has one pattern in it, which will play indefinitely. You can create another entry in the arrange list by copying a previous one. This works just like copying tracks: click on a pattern in the list, hold down the mouse button until the pointer turns into a hand, and drag it to where you want to copy it to.
Similarly, you can delete an entry in the arrange list by dragging it away from the list, or by clicking on it and pressing Delete (just beneath Backspace). You can navigate to a different entry by clicking on it, or by using the open and closed brackets, ( and ), on the number pad.
Creator can play up to four patterns at once, but for now, let's stick to just one, under the a column. By clicking on the 1 with the left and right mouse buttons, you can increment and decrement which pattern is played at that point. When you do so, the pattern's name will change accordingly.
For sections that you want to start at the beginning of a bar, you can simply click on the number on the left column, under BAR, to increment and decrement which bar it starts on. The entries are displayed in chronological order, so they'll automatically move around as necessary.
If the pattern should start mid-bar, then you can fine-tune its position at the bottom of the screen, where it says Pattern POSITION. This uses the same format as the playback/record heads in the far top-right corner of the screen. Note that switching to a new pattern mid-bar will still play the new pattern from its very beginning, so you can e.g. add half-bar breaks and buildups. (When playing multiple chains at once, this can therefore let the patterns go out of phase with each other, if you want them to, as with polymetres.)
To switch patterns slightly early or late, without adding or removing anything, use the UP BEAT- CUT+ section near the bottom-left corner of the screen. A value of less than 1 1 1 1 will change the pattern early; a greater value will change the pattern late. Either way, the song's downbeat will remain steady, with only the changeover point moving. Note that switching early to a pattern that loops won't catch the tail end of the loop. It will only play what you recorded during the count-in, which is usually nothing. Switching late from a pattern that loops will make it start to loop again. (In effect, Creator is smart enough to loop things in realtime, but not smart enough to work out where a loop would be.) If you've got a looped part that you want to come in early, that's probably better achieved through muting.
The last pattern automatically stops when the next one in that chain's column starts. Simply copy the entry, set it to the next pattern you want to play, and set it to the bar that next pattern should start on. Alternatively, after copying the entry, you can change the length of the previous entry by clicking on it and changing the Pattern LENGTH in the bottom-left corner of the screen, which will automatically work backwards to calculate the appropriate start time for the next bar.
You can also mute and unmute tracks in each entry, so if you preferred, you could build up a whole song using only one or two patterns, muting and unmuting various tracks from the entries in the arranger, instead of muting and unmuting them from another track within the pattern itself. However, it may be more rewarding an experience to mute and unmute within the pattern, as you can do so in realtime. (You can even combine the two: from the arranger, you can set the initial state of which tracks are muted, for every entry... which the track within the pattern then overrides.)
Creator has four independent pattern chains, a, b, c, and d, much like having four physical step sequencers synchronised together. So you could, for instance, use the b chain to play a single pattern the length of the whole song, for adding little flourishes such as crash cymbals (regular and reversed), solos, speech samples, or anything else that adds interest and helps gloss over the seams of pattern changes; or to note knob twiddling as CC values, for dynamic timbres that change throughout the song, even as patterns repeat. Having multiple chains also comes in useful when it comes to starting a pattern early, as it can overlap with the previous pattern.
Naturally, the other three chains can also switch back and forth between patterns. (These are all selected from the same pool. Chain a's pattern 1 is the same as chain b's pattern 1.) You can change patterns in several chains at the same time, by listing them one after the other. Because each change has its own separate entry on a separate line, it doesn't look like they're simultaneous, but it does sound it.
While you can't pause an individual chain, you can make it switch to a blank pattern. To stop the entire song, simply add a new entry and set it to pattern 0, on any of the four chains.
Creator can do much more, so I recommend reading the manual and trying things out. In the meantime, the above should be enough to get you started quickly.
Electronic music making guides: Aphex Twin guide | Creator guide | DX21 guide | DrumStation guide | MCV-24 guide | MicroVerb III guide | S1000 guide | ST guide | Solina String Ensemble guide